
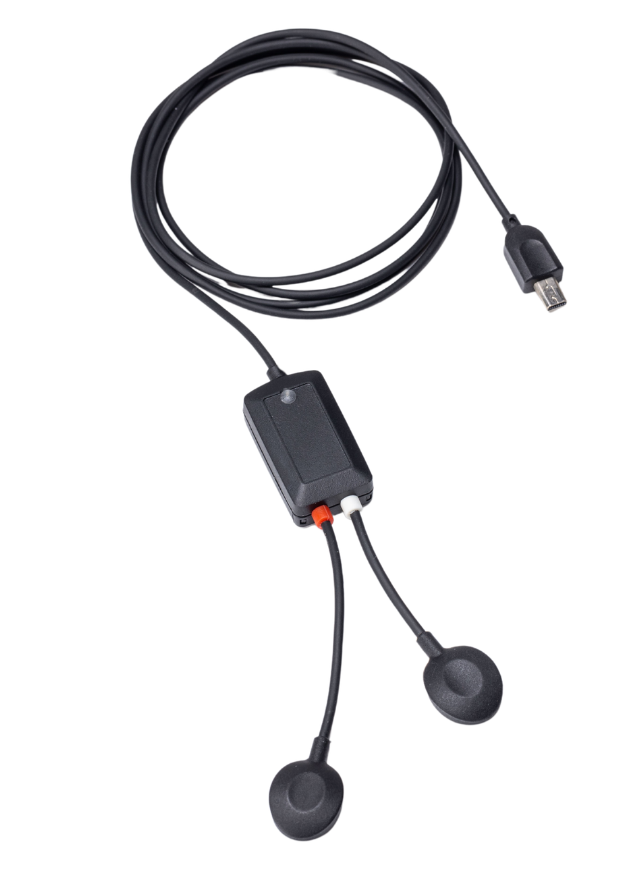
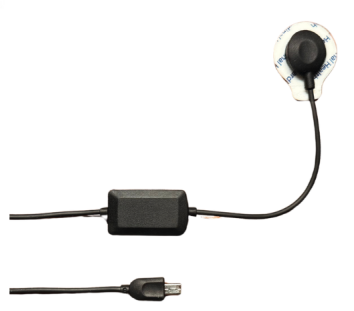
The EMG smart sensor is a research-grade sensor designed to acquire EMG (muscle activity) signals through surface electrodes.
It features a low-noise differential amplifier with integrated hardware filtering, ensuring stable, high-fidelity recordings even in challenging experimental environments.
This article explains how to set up and use the Electromyography (EMG) sensor with Biosignals PRO devices.
Compatible Systems
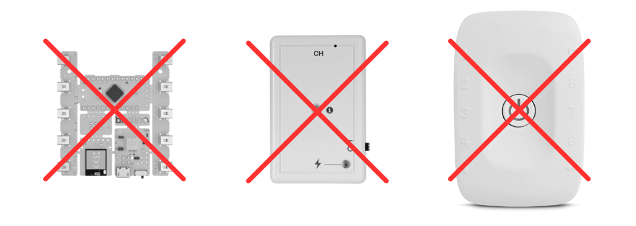
This sensor is exclusively compatible with Biosignals PRO systems.

This sensor is not compatible with any biosignalsplux or BITalino devices.
Recommended Setup
To complete this setup, you will need:
- 1x Biosignals PRO device
- 1x (or more) Electromyography (EMG) smart sensor
- Electrodes (recommended ones available here)
- Biosignals Studio (Desktop)
Connecting the Sensor to Your Biosignals PRO
Connect the sensor to any of the available Biosignals PRO ports.
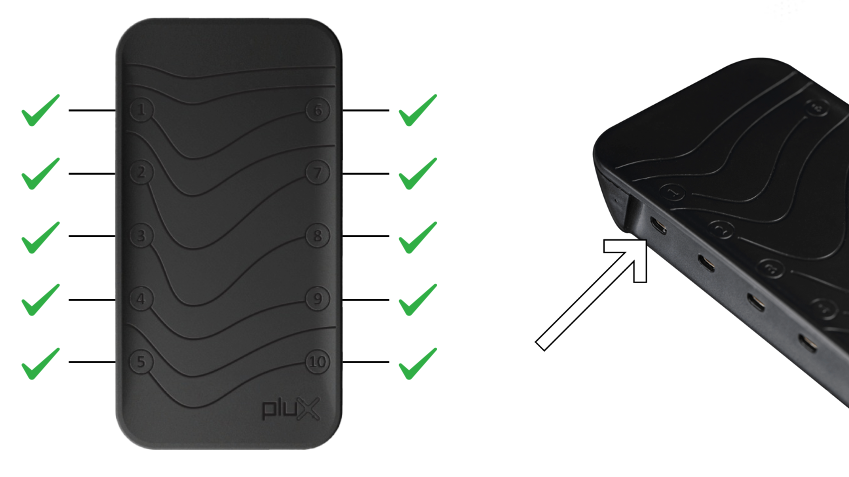
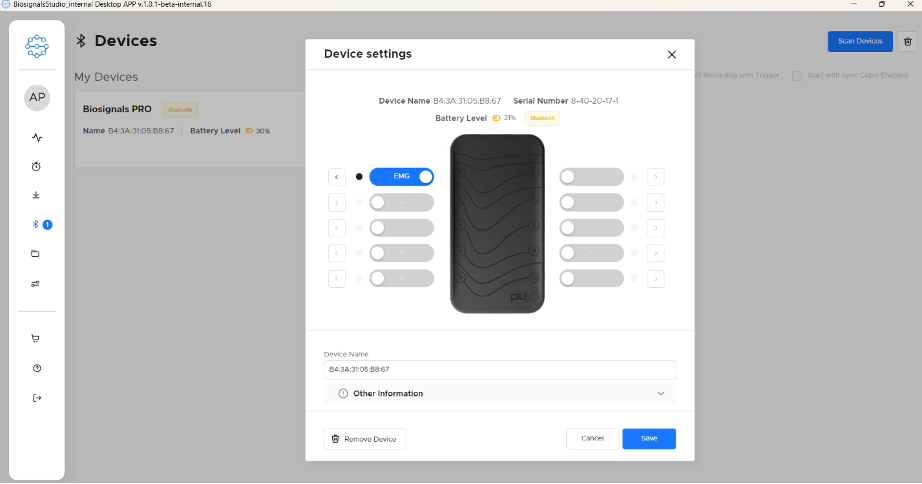
Once connected, the system will recognize the sensor, configure everything automatically, and activate it.
You can also see the sensor in the Biosignals Studio device settings, where it’s listed as EMG sensor on the connected port.
Placing Your Electrodes
EMG signals are measured using two electrodes placed on the muscle and one reference electrode placed on a low-activity area such as a bone.
For high-quality EMG recordings, we recommend:
- Prepare the skin: Follow the Skin Preparation Tutorial before placing the electrodes
- Use clean electrodes: Use new disposable electrodes or properly clean reusable electrodes before use
- Connect electrodes: Connect 2 electrodes to the electrode snaps of your sensor
- Place the electrodes on the muscle belly: Align them with the muscle fibres and keep approximately 2 cm between them
The example below shows a typical electrode placement for measuring the activity of the biceps brachii. The EMG sensor cables include red and black sleeves to help identify the electrode leads.

Application Tip 💡
For standardized recommendations on general and muscle-specific electrode
placements, consult the SENIAM (Surface Electromyography for the Non-Invasive Assessment of Muscles) project guidelines, an established reference in EMG research and clinical practice:
http://seniam.org/fixation.htm
Using a Reference Electrode
For accurate EMG recordings, we recommend using the reference cable included with your Biosignals PRO kit to place a reference electrode.
In muscle recordings, the reference cable reduces baseline drift and common-mode noise, yielding cleaner recordings even during dynamic contractions. It also minimizes the baseline width due to this noise removal.
For best results, place the reference electrode:
- On clean, dry skin to ensure reliable electrode contact
- On an area with little or no muscle activity underneath
- On a stable bony area such as the elbow or clavicle
Recommended Placements:
Wrist or bony area close to the recorded muscle (e.g., forearm for upperlimb EMG). Avoid placing over muscle tissue.
Reference electrodes are particularly important for long-duration or low-amplitude EMG measurements and for comparing multi-EMG sensor setups, as they provide a common reference signal for all EMG sensors.
Sensor Signals Interpretation & Samples
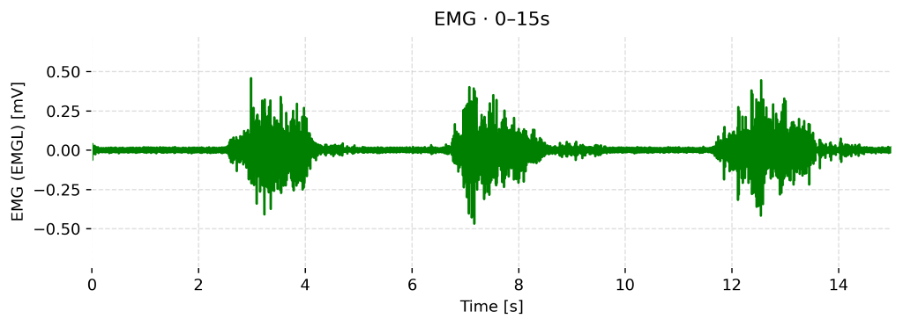
The Electromyography (EMG) PROsensor measures the electrical activity generated by muscles during contraction, allowing you to analyze muscle activation timing, intensity, and fatigue. The sensor also provides a Motion Score, which indicates how much movement is affecting the recording and helps identify possible motion artifacts or electrode displacement.
The graph below shows a typical EMG recording from the biceps during voluntary muscle activation. Clear bursts of activity correspond to muscle contractions, while higher Motion Score values may indicate movement-related signal disturbances that should be considered during signal analysis.
Motion Score
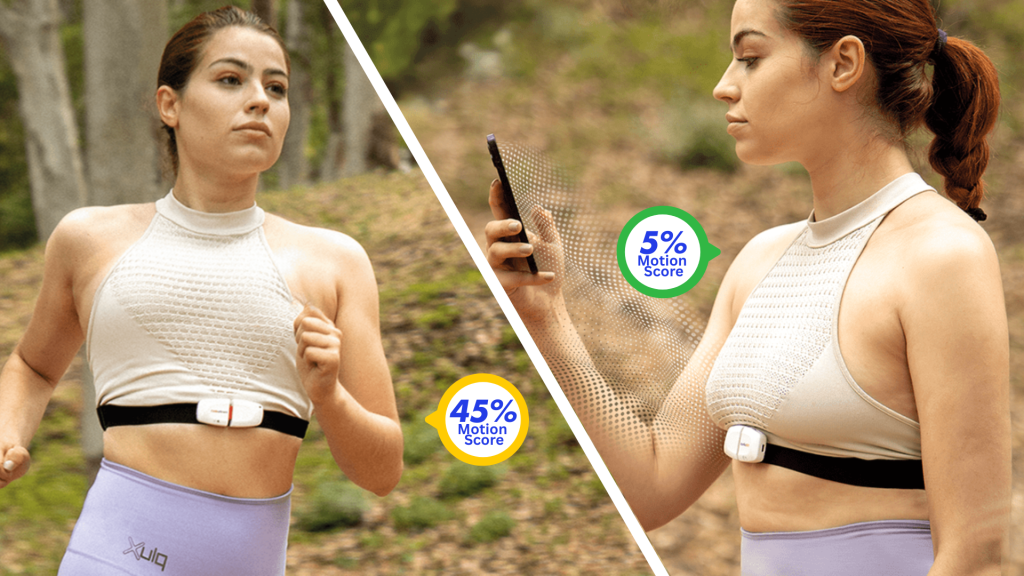
Motion Score is a computed metric available on all Biosignals PRO Smart Sensors.
It combines data from the sensor’s accelerometer and gyroscope to quantify motion intensity during a recording.
The resulting value is expressed as a percentage between 0% and 100% and provides an intuitive representation of the amount of movement. A higher Motion Score indicates more intense movement. For example:
- 0–10%: Rest or small involuntary movements (talking, coughing).
- 10–20%: Walking, spinning, or sleep-related movements.
- 20–40%: Fast-paced walking or jumping.
- 40–60%: Jogging or running.
- 60–80%: Fast running.
- 80–100%: Explosive movements with rapid deceleration (e.g., tennis strokes, punching).

This makes Motion Score useful for:
- Detecting movement artifacts that may affect other sensor readings (e.g., EMG, ECG).
- Assessing motion levels in a simplified way without needing to process raw IMU data.
- Comparing activity between different sensors placed across the body (e.g., arm vs chest).
Find our more details about the motion score here:
